Overview
When the Kerio VPN client stopped working for no reason, a fresh install may be necessary to resolve the issue.
This article guides you on how to properly reinstall the Kerio VPN client on your Windows PC. This also applies to any type of scenario that requires Kerio VPN reinstallation, such as VPN client disconnections or interruptions.
Solution
- Completely remove Kerio VPN Installation using KTUninstaller then restart the PC.
- Once the computer is up, make sure Routing and Remote Access is running from the Services.
- Go to Start > Run and type
services.msc.
- Go to Start > Run and type
- Disable Antivirus software.
- Download the latest Kerio VPN client.
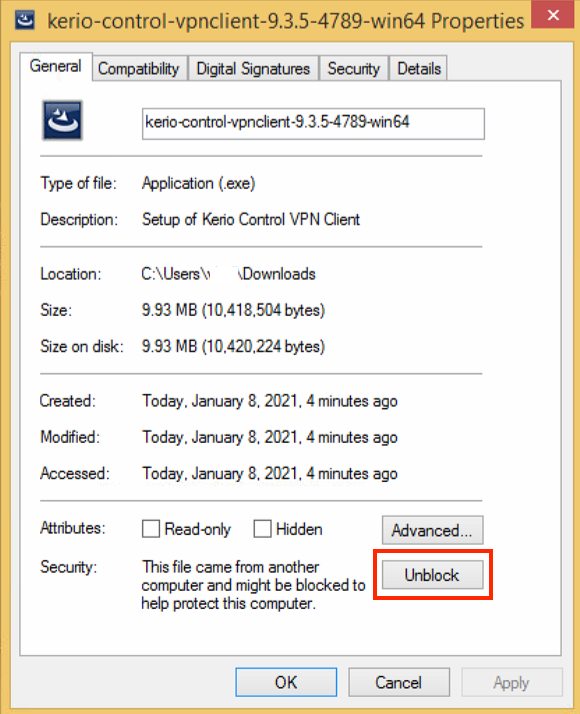
- Unblock the installer (Windows 8 only):
- Right-click on the Kerio VPN executable file.
- Click Unblock then click Apply and OK.
- Run the installer and follow the installer wizard instructions.
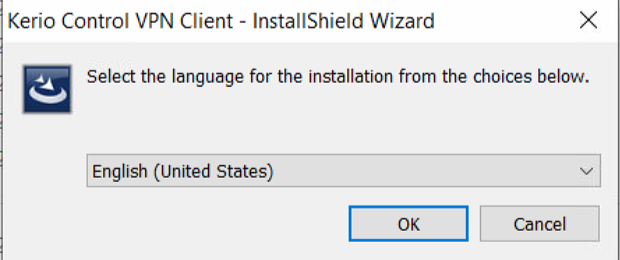
- Choose language.
- Click Next to start the installation wizard.
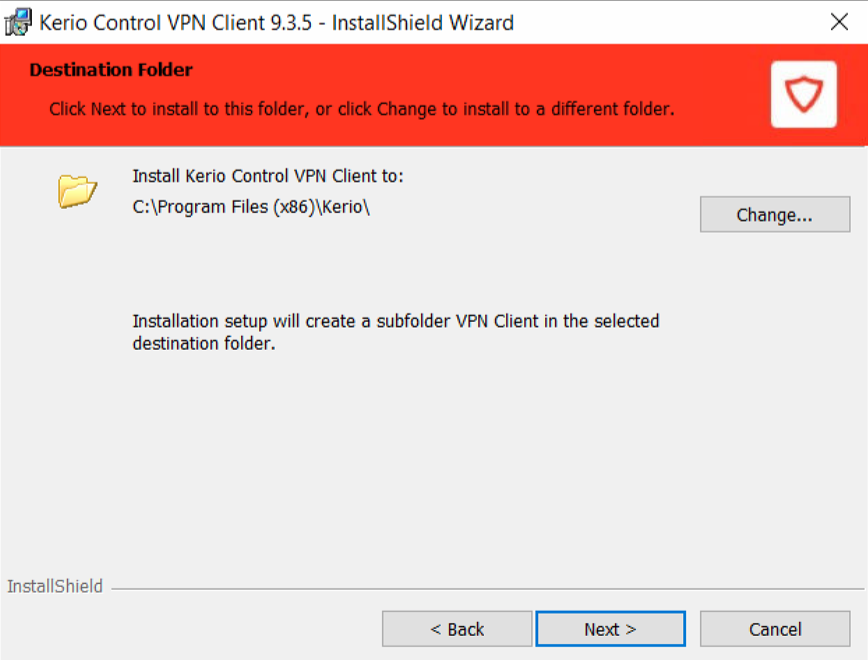
- Choose a destination folder for the VPN client. Default is
C:\Program Files (x86)\Kerio\VPN Client.
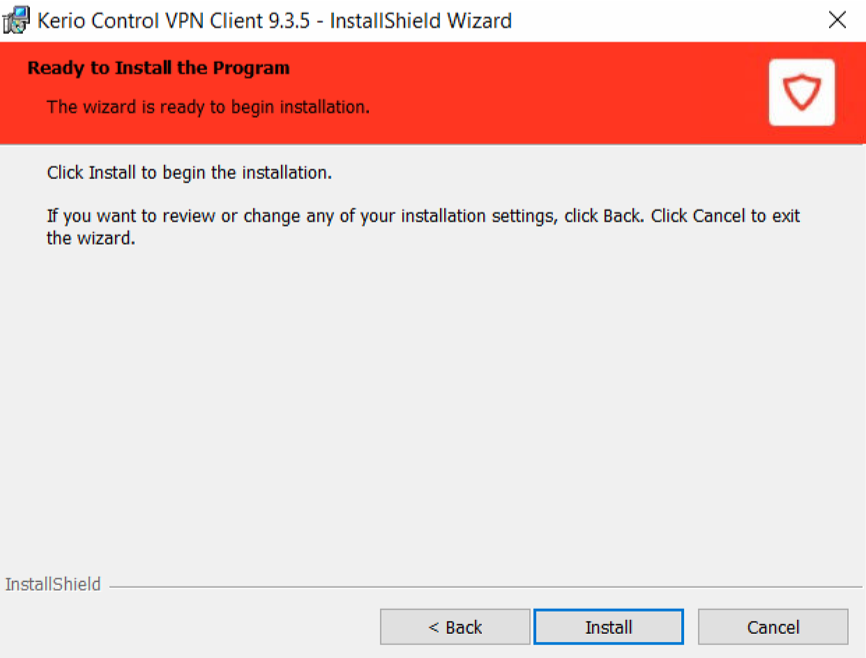
- Click Install.
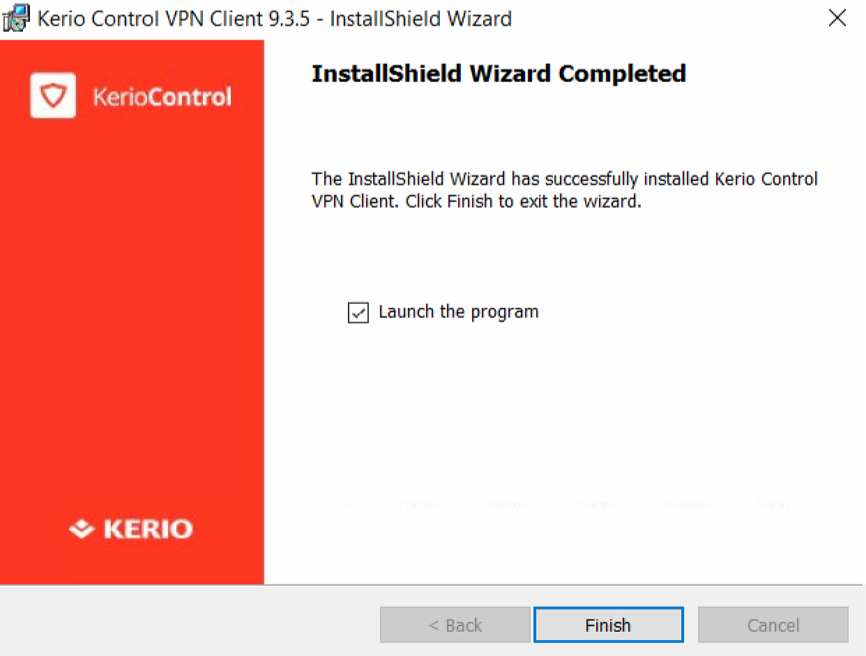
- Enable the "Launch the program" checkbox and click Finish.
- Choose language.
- To configure the Kerio VPN settings and know more about the process, please refer to Configuring Kerio Control VPN Client on Windows.


Priyanka Bhotika
Comments