Overview
You can transfer the configuration of the firewall to a different system. There are two basic scenarios where you would want to do this:
- Your original hardware device is broken, and you received a new hardware device of the same type.
- Your original hardware device works well, but you want to upgrade your infrastructure with a new Kerio Control hardware device.
To switch from one Kerio Control hardware appliance to another, you need to configure and register the new Kerio Control and then switch off the original appliance. This article details the following steps which are involved in transferring the firewall configuration:
- Exporting the Current Configuration
- Registering a New Kerio Control Appliance
- Upgrading the New Kerio Control Hardware Appliance
- Importing the Configuration in the New Box
- Restoring Configurations
- Logging back into the appliance
Process
Step 1: Exporting Current Configuration
-
In the administration interface, go to the Dashboard.
-
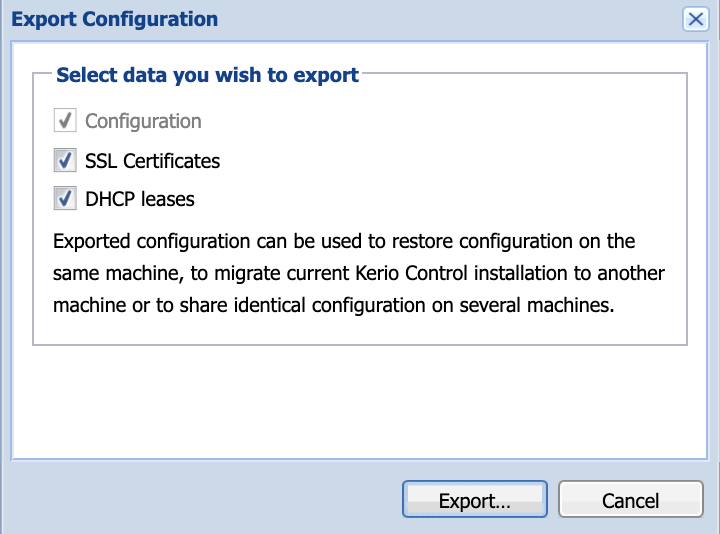
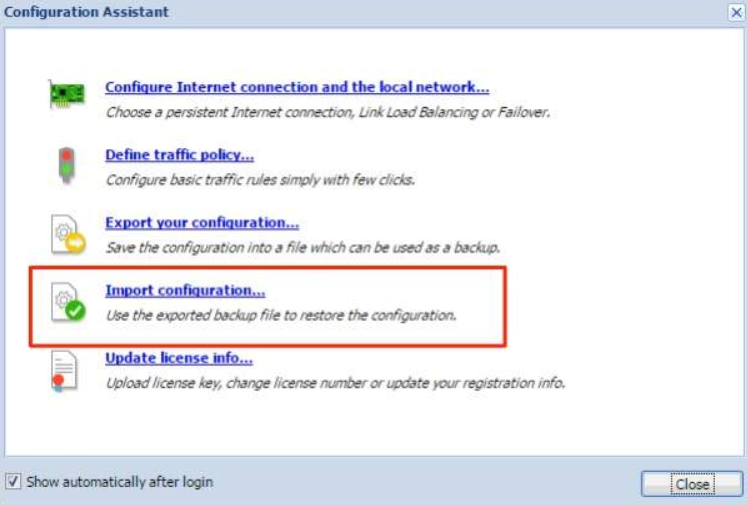
Go to Configuration Assistant > Export your configuration.
- Choose whether to export the SSL certificates and DHCP leases or only configuration. Click Export.
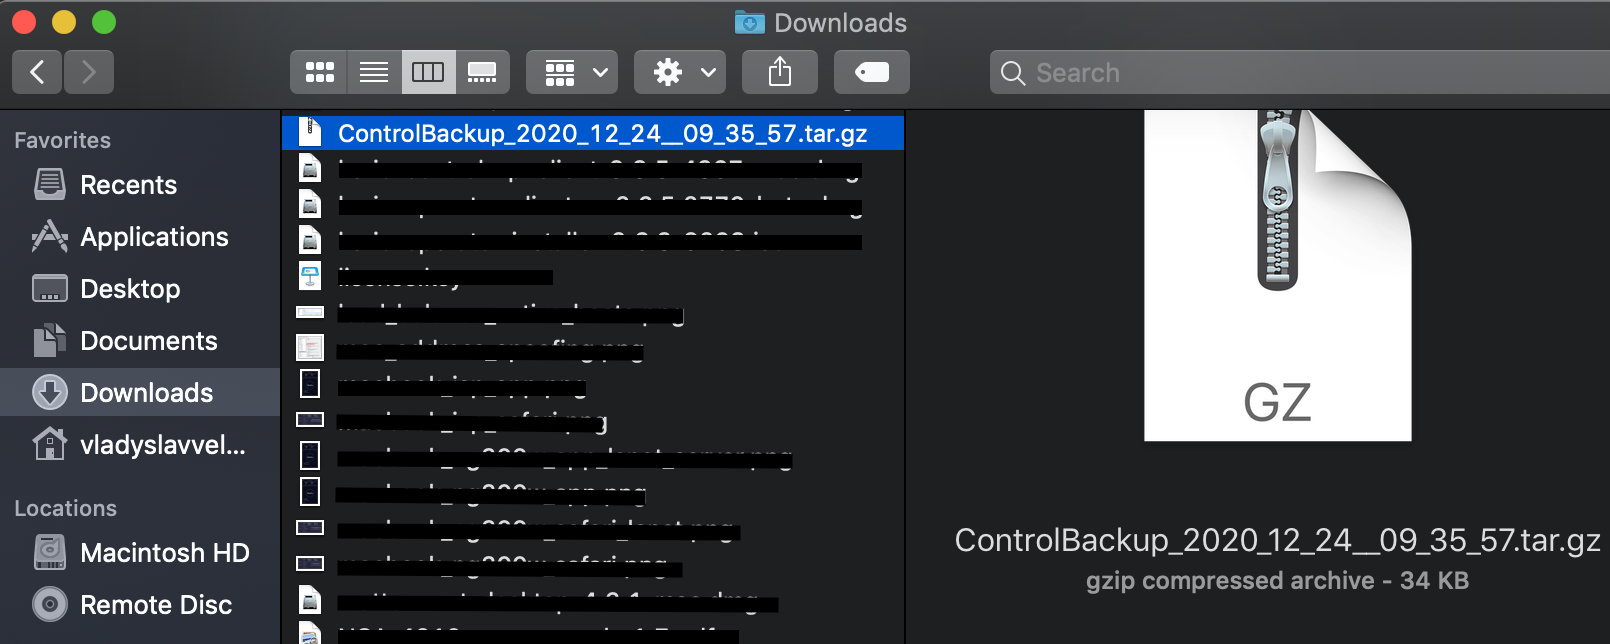
- The backup file ControlBackup_<timestamp>.tar.gz is downloaded.

If the configuration cannot be exported for any reason, download the backup file from MyKerio or an FTP server.
NOTE: If the original Kerio Control appliance does not work and there is no backup, the new Kerio Control appliance would have to be manually configured.
Step 2: Registering a New Kerio Control Appliance
If the new hardware appliance is of the same type as the original one, it is possible to use the same license. In all other cases, you need a new license.
(For details, contact a Kerio sales representative.)
Registering the new Kerio Control hardware appliance is a part of the Activation Wizard, which is started by pointing the browser to https://10.10.10.1:4081/admin
Step 3: Upgrading the New Kerio Control Hardware Appliance
Before you import the configuration, you must have the same version of Kerio Control that was running on the original appliance (or a newer version) installed on the new hardware appliance. Otherwise, you will be facing an error (unable to import configuration, the version in the configuration is higher than the version needed):
-
In the administration interface, go to Advanced Options > Software Update.
-
If a new version is available, click the Download button.
-
After the new version downloads, click Upgrade Now and wait for the server to restart. Once the server has restarted, the Kerio Control hardware appliance should be up-to-date.
Step 4: Importing the Configuration to the New Box
-
In the administration interface, go to the Dashboard.
-
Go to Configuration Assistant > Import configuration.
Step 5: Restoring Configurations
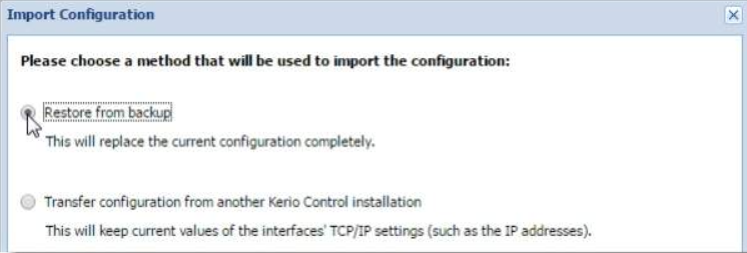
- In the Import Configuration wizard, click on Upload Configuration File.
- Select the exported configuration file and click Open.
- Select Restore from backup to restore all the configurations.
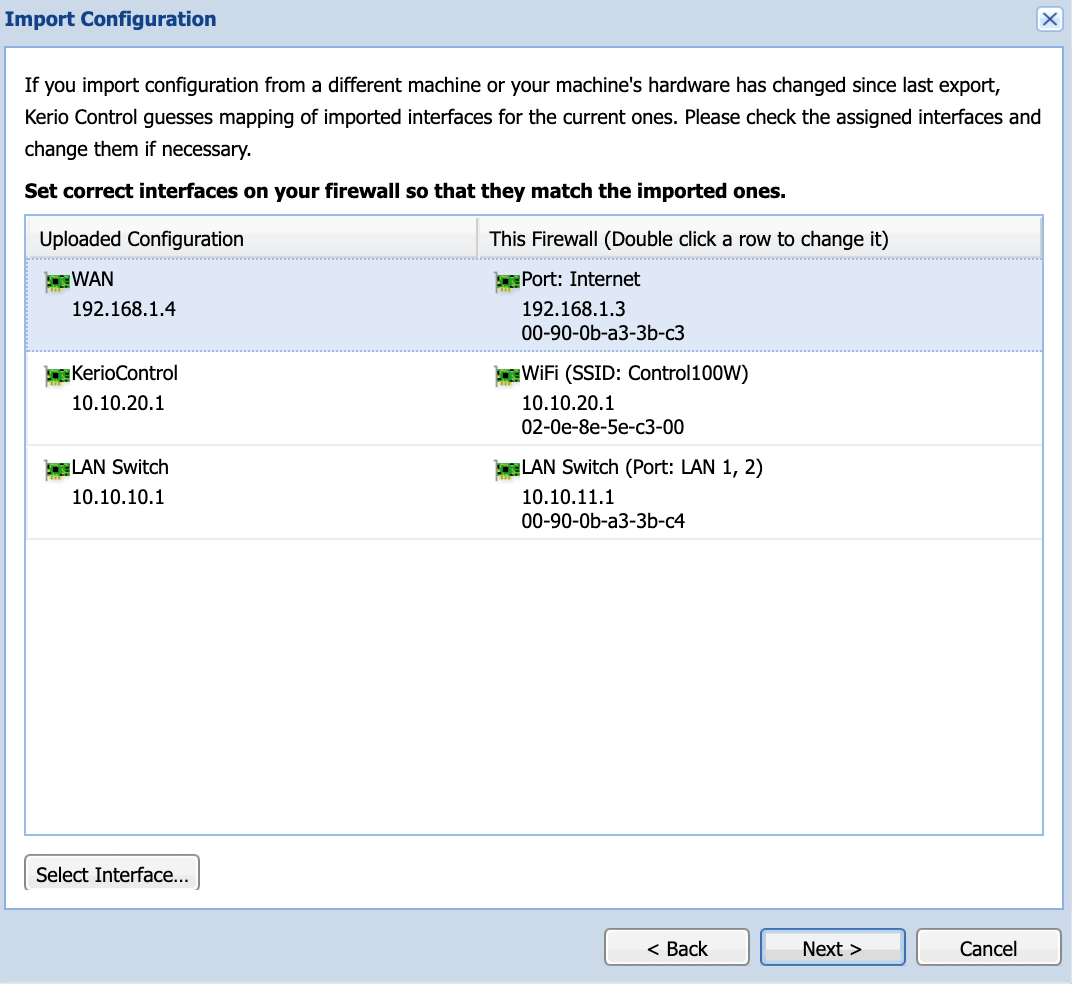
- If needed map your current interfaces to the new one by clicking Select Interface button.
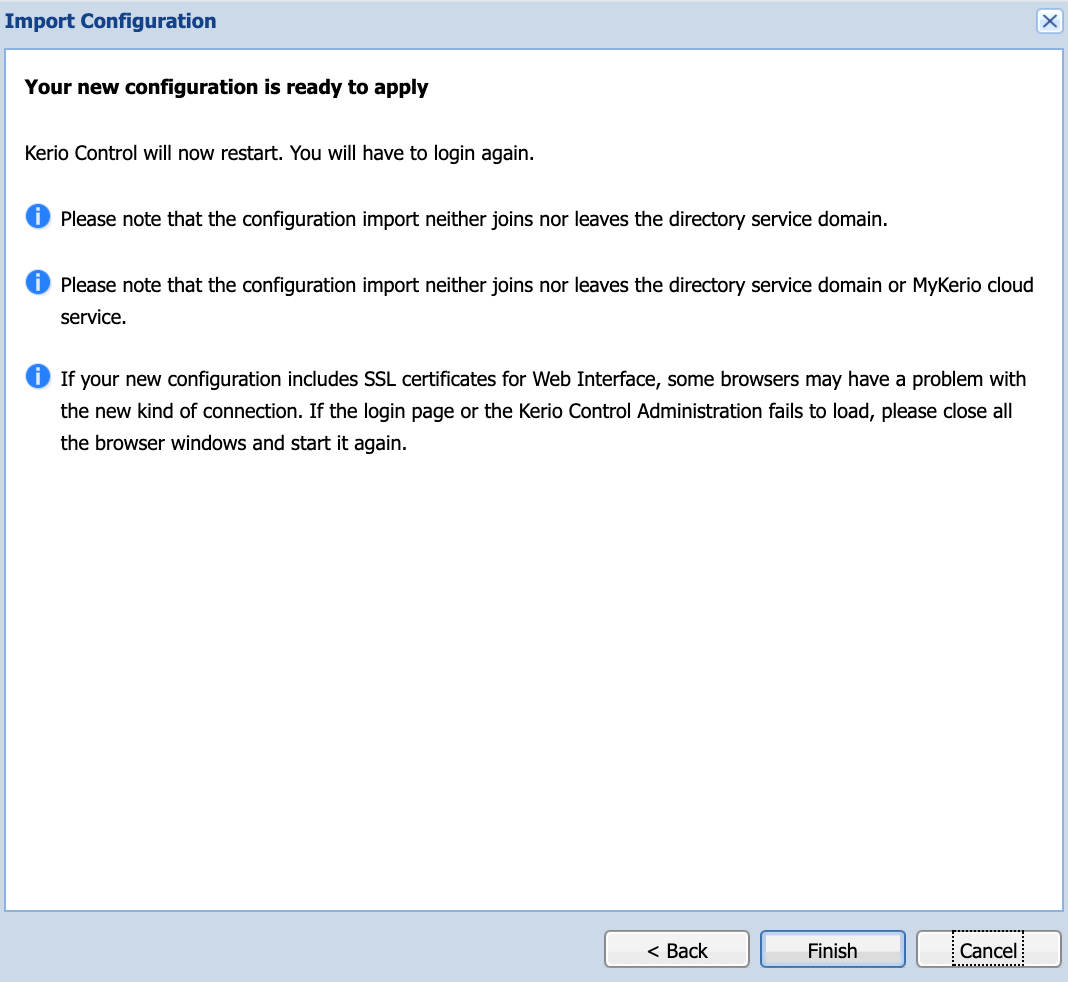
- The old configuration is ready to be imported into a new appliance. Click Finish to restart Kerio Control.

Step 6: Logging back into the appliance
After Kerio Control restarts and applies the configuration from the backup restore, you can now proceed with Logging into Kerio Control, while keeping in mind that:
- Depending on the choice you've made during the restore, the Kerio Control IP address may be different after the restart, as it may have attained a different IP address from the backup configuration, if chosen.
- The Kerio Control user interface may not load up until an admin accesses the web admin GUI at https://<ip_address>:4081/admin/login to confirm that the restore is successful
Summary
Kerio Control pairs the imported network interfaces with the real interfaces on the appliance.
Finalize the transfer by disconnecting the original hardware appliance and properly connecting the new one.
Priyanka Bhotika
Comments