Overview
The Kerio Control Virtual Appliance images available for installation are not in a format that can be run natively on Macs with the newer M1 and M2 Silicon chipset. To run on these devices, you must convert the files to qcow2 format and use UTM to emulate x86.
Solution
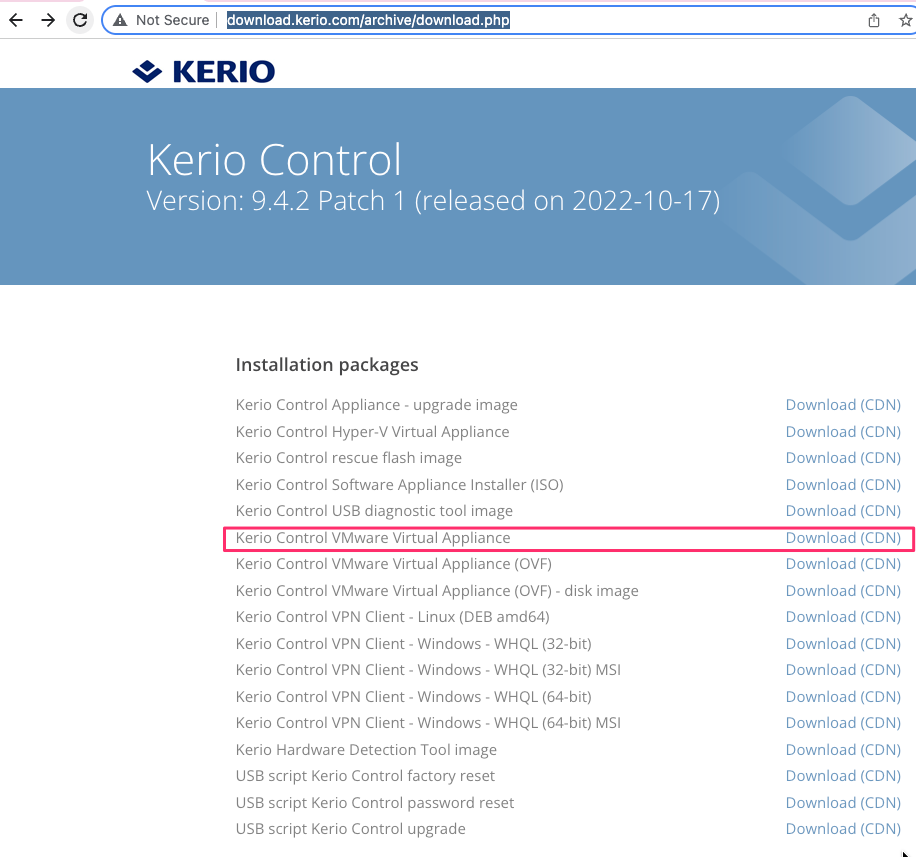
- First, download the VMDK images from the Kerio downloads portal:
- Extract the downloaded files
- Once downloaded, open a terminal window in the extracted files folder
- If you have not got qemu installed, you will need to install this via Homebrew:
-
brew install qemu
-
- If you have not got qemu installed, you will need to install this via Homebrew:
- Convert the vmdk file to qcow2 format
-
qemu-img convert -f vmdk -O qcow2 kerio-control-appliance-9.4.2-7290-p1-vmware-disk1.vmdk kerio.qcow2
-
- Download and Install UTM.
- Open UTM
- Create New Virtual Machine
- Emulate
- Custom
- Skip ISO boot
- The rest of the configs can be set based on your needs or default (continue, continue, etc... save)
- Continue & Save
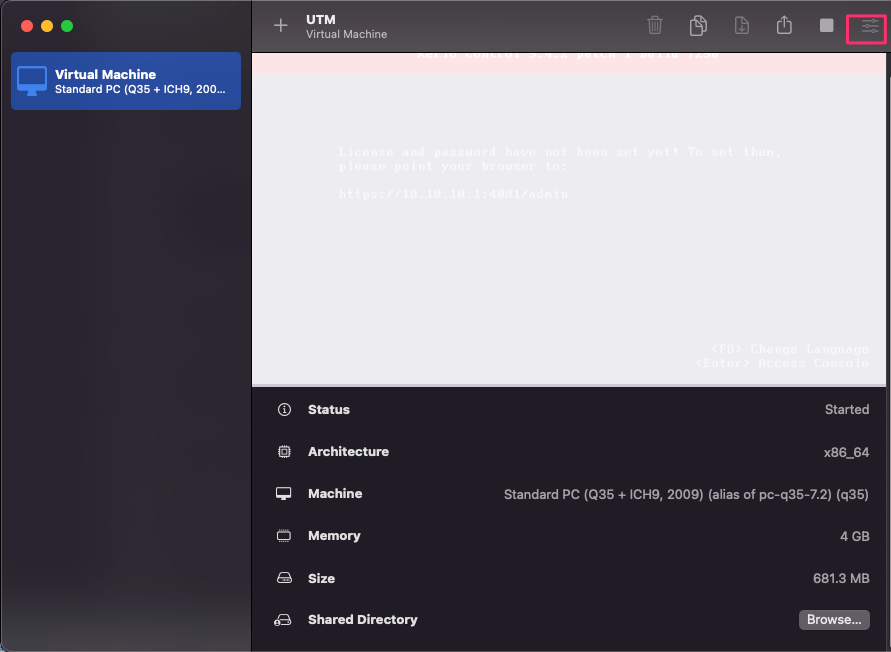
- Select the Base VM you created and select the Settings icon:
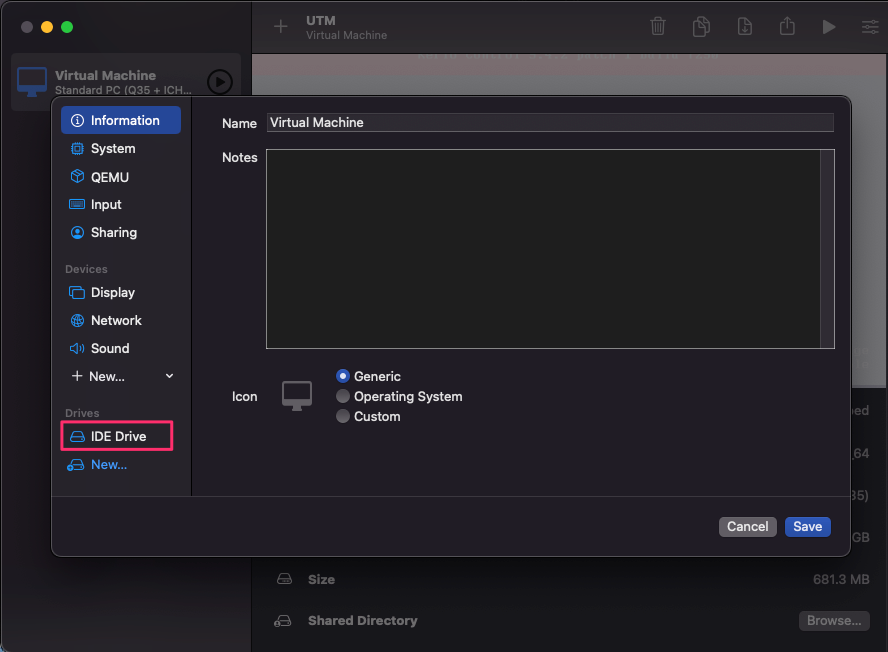
- Right-click the default IDE Drive and select Delete:
- Under Drives, click on New...
- Select Import
- Select the qcow2 file you created earlier
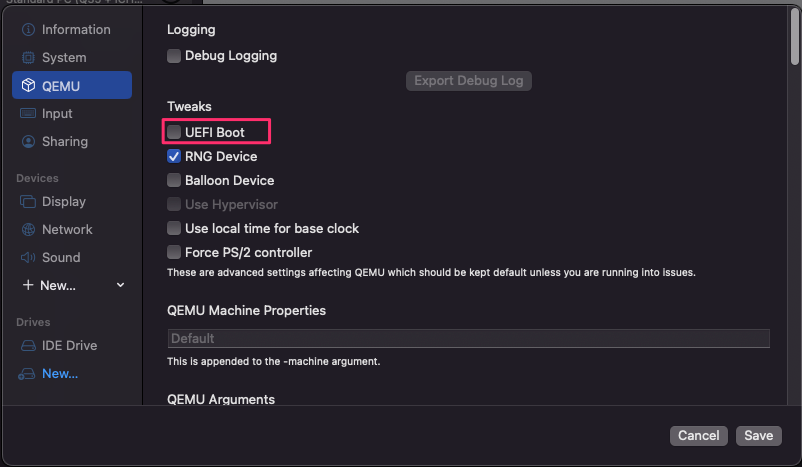
- Go to QEMU Tab and de-select "UEFI Boot":
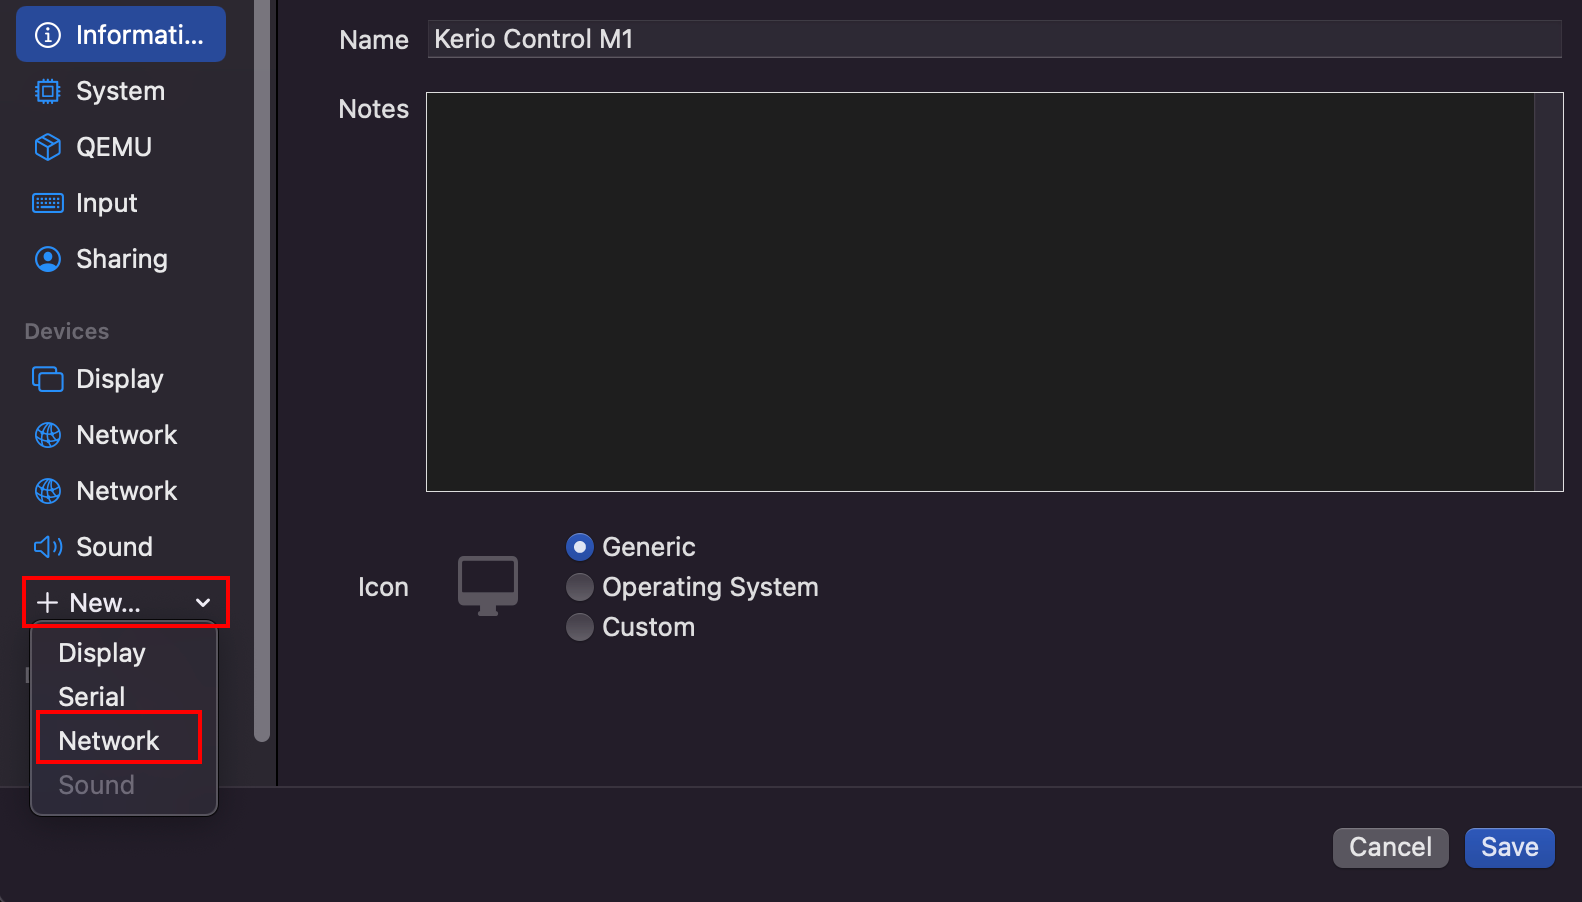
- Under Devices, select New... > Network:
- Adjust the two Network devices as needed. One Bridged and one Shared Network are good choices to emulate the WAN and LAN interfaces.
- Save and Run the VM
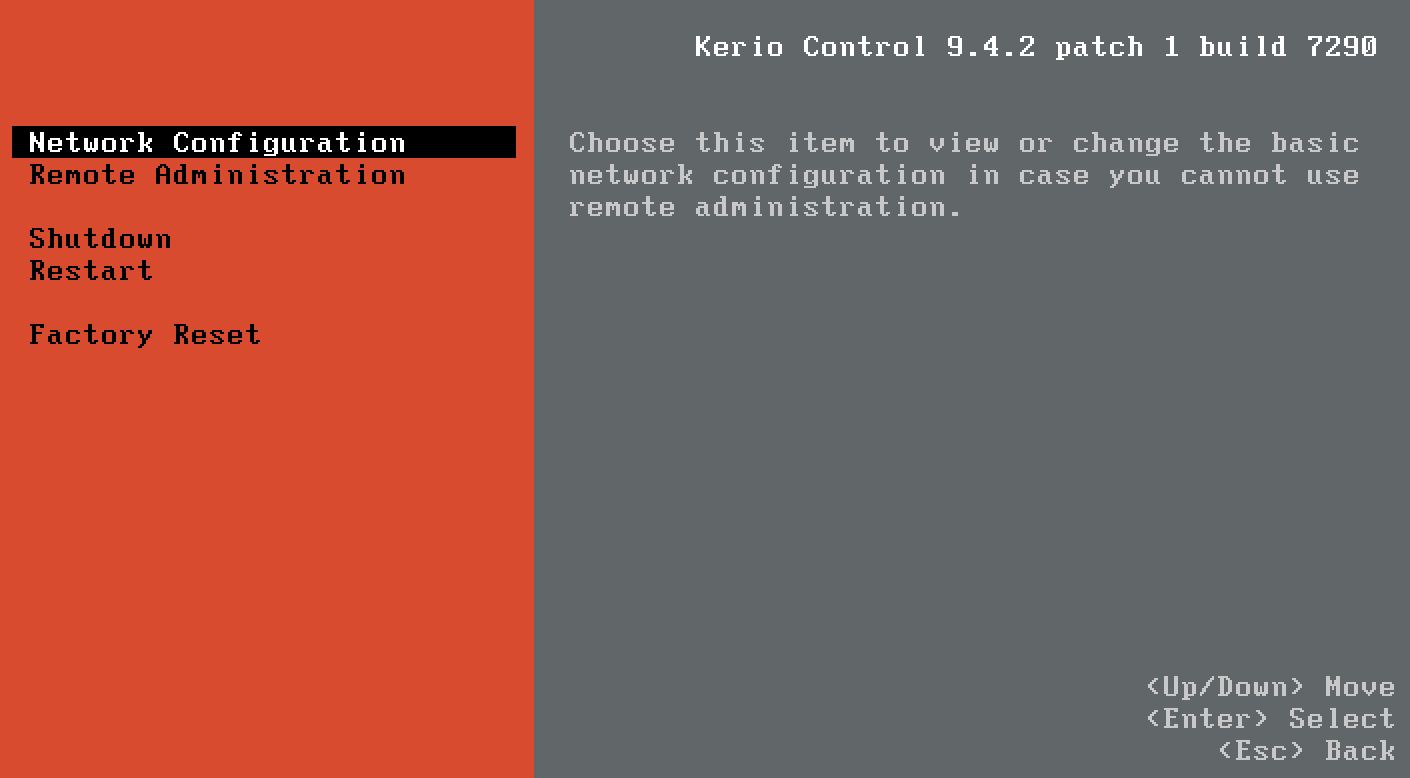
- Once the Kerio Control Console appears, press Enter to access the Console:
- Select Remote Administration and press Fn + F8 to add the cited Traffic Rule.
- This rule will allow you to access the Initial Configuration Wizard from the Host Machine.
- If you have trouble using the F8 key, see the Keyboard section below.
Using Shared Network Adapter
If you leveraged the "Shared Network" adapter option, you likely have IP 10.10.10.1 assigned by default, but it remains unreachable from the Host. Your "Shared Network" subnet is likely not aligned to the IP manually set and should be adjusted to use DHCP allocation instead.
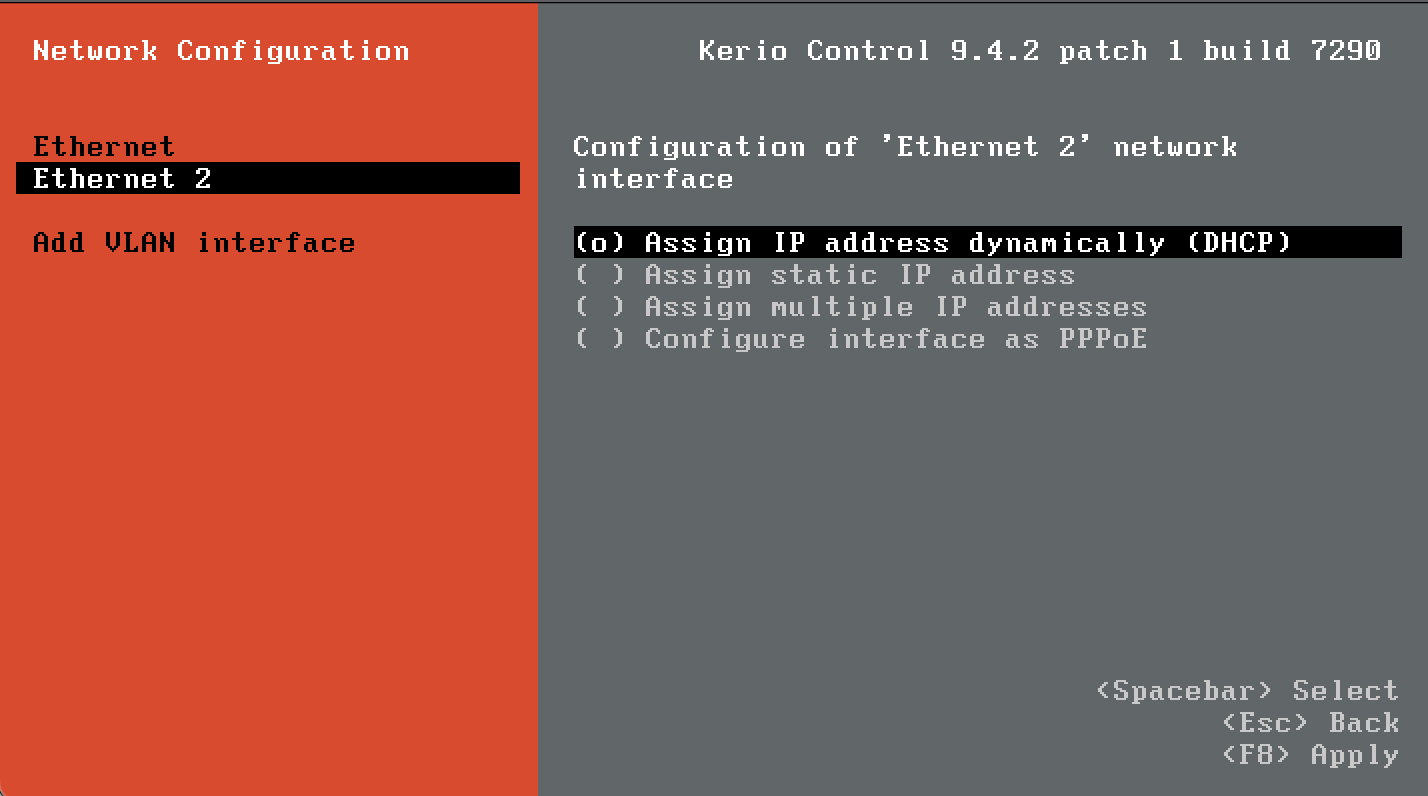
- From the VM Console, select Network Configuration.
- Choose the Shared Network adapter and press Enter.
- Select "Assign IP address dynamically (DHCP)"
- Press Fn + F8 to Apply the change.
- If you have trouble using the F8 key, see the Keyboard section below.
Keyboard
To set the IP and other functions of the Kerio appliance Console, you must pass the Function keys such as F8. By default, you can leverage the fn key and the appropriate Function keys using the built-in keyboard within the Kerio Control Console window.
Example 1: To Change Language from the main Console Splash, press fn + F8.
Example 2: To toggle between TTL sessions to access the console or terminal directly, press fn + option + F1/F2.
If using an external keyboard, you may need to set the config options below instead:
- Choose Apple menu > System Settings.
- Click Keyboard in the sidebar.
- Click the Keyboard Shortcuts button on the right.
- Click Function Keys in the sidebar.
- Turn on “Use F1, F2, etc. keys as standard function keys”.
Priyanka Bhotika
Comments